
Effectively managing vendor payments is significant for sustaining a enterprise’s monetary well being. Counting on guide entry may end up in delays, errors, and discrepancies that disrupt money movement. Automating vendor invoice creation by way of the NetSuite API affords a seamless resolution that saves time and boosts accuracy.
Nonetheless, the complexity of the NetSuite API might be overwhelming. That is the place Nanonets is available in, offering a plug-and-play integration with NetSuite that eliminates the effort and confusion, making vendor invoice automation easy.
Nanonets automates vendor invoice and PO entry into NetSuite, plus units up seamless 2-way, 3-way, and 4-way matching in minutes!
Understanding Vendor Payments in NetSuite
A Vendor Invoice is a document used to trace the prices incurred when buying services or products from a provider. In NetSuite, vendor payments are vital for monetary and accounting functions, serving to companies streamline funds and handle stock successfully. These information additionally function a supply for monitoring excellent quantities as a result of suppliers.
Relying on the character of your transactions, you could have to create various kinds of vendor payments.
- Expense-based Vendor Payments: These payments are used for recording normal bills like utilities, hire, or companies. No bodily gadgets are related to these payments.
- Merchandise-based Vendor Payments: These payments contain tangible items or stock bought from the seller. One of these invoice can embody line gadgets for every services or products.
Moreover, each Expense-based and Merchandise-based Vendor payments might be labeled into under 2 essential teams relying on whether or not they’re linked to a purchase order order or not.
- Standalone Vendor Payments: These payments are unbiased and never linked to any Buy Orders (POs). They’re usually used for ad-hoc purchases or companies.
- Vendor Payments Matching Buy Orders: These payments correspond to current POs, guaranteeing that the billing matches what was ordered.
Organising the NetSuite API
Earlier than you can begin creating vendor payments utilizing the NetSuite API, you may have to arrange your account entry and guarantee correct authentication. Right here’s how you are able to do it:
Receive Account Credentials:
- Log in to your NetSuite account.
- Navigate to Setup > Firm > Allow Options.
- Underneath the SuiteCloud tab, be certain that SOAP Internet Companies and Token-Primarily based Authentication are enabled.
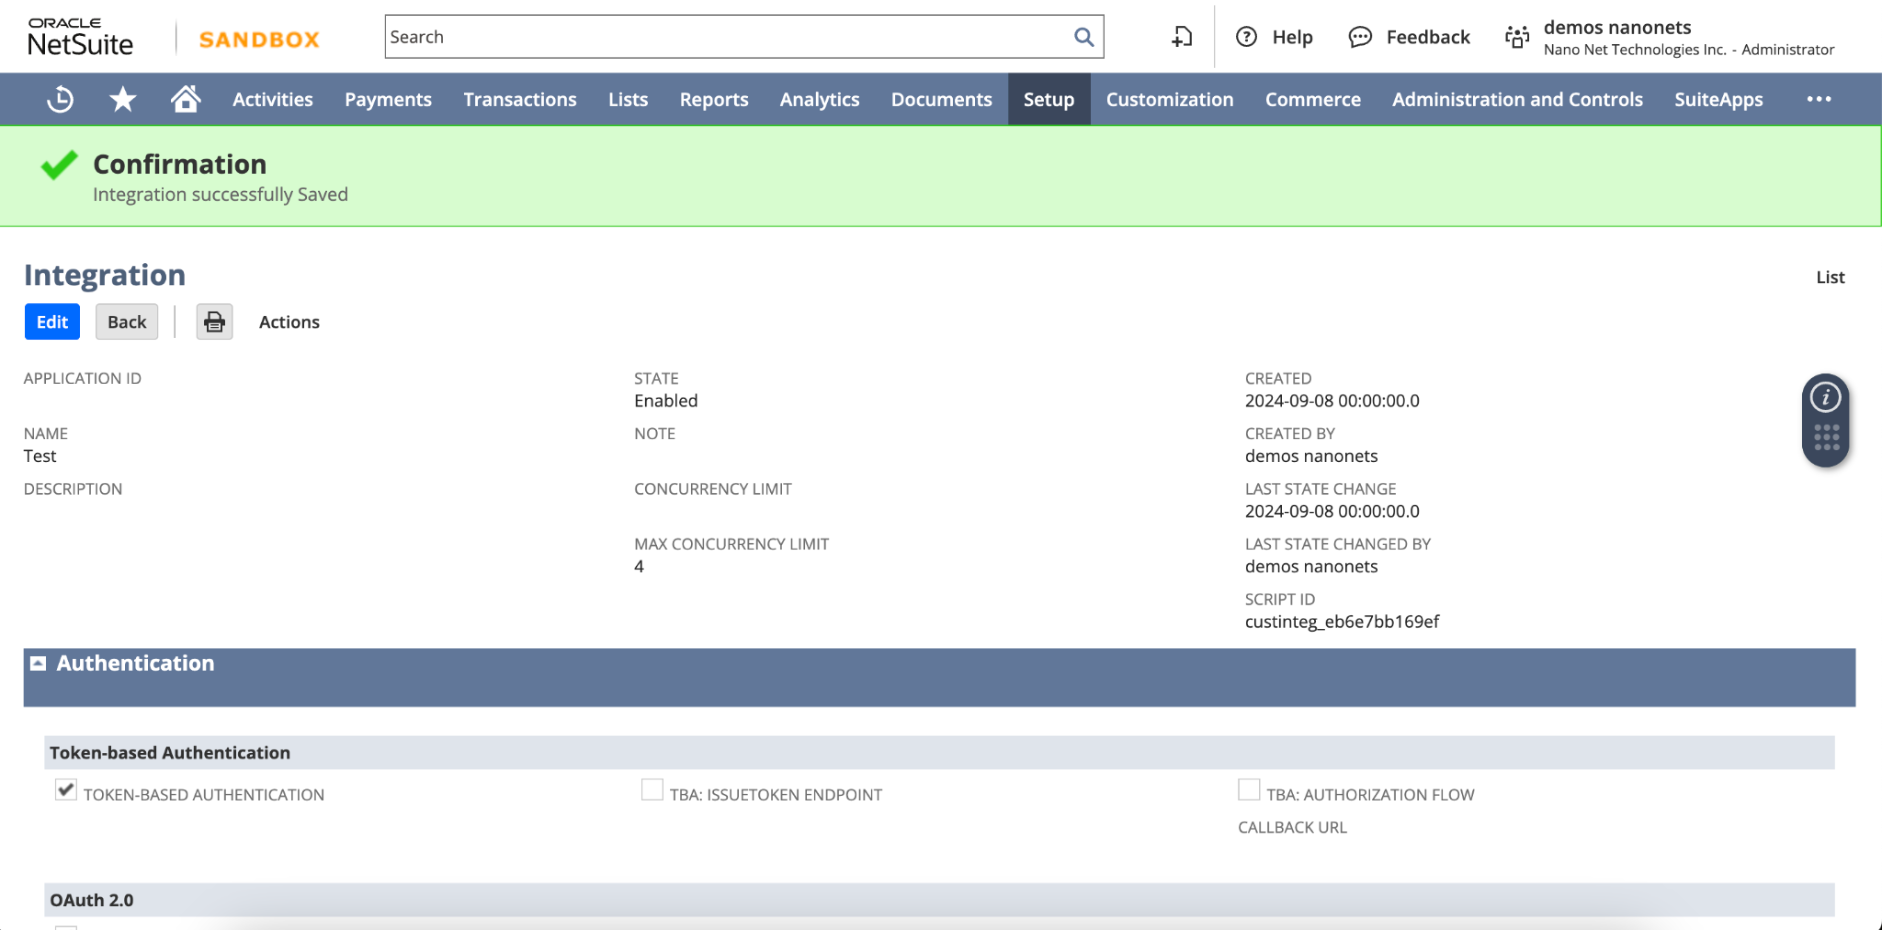
Create an Integration Report:
- Go to Setup > Integration > Handle Integrations > New.
- Fill out the required fields, and be aware down the Client Key and Client Secret offered.
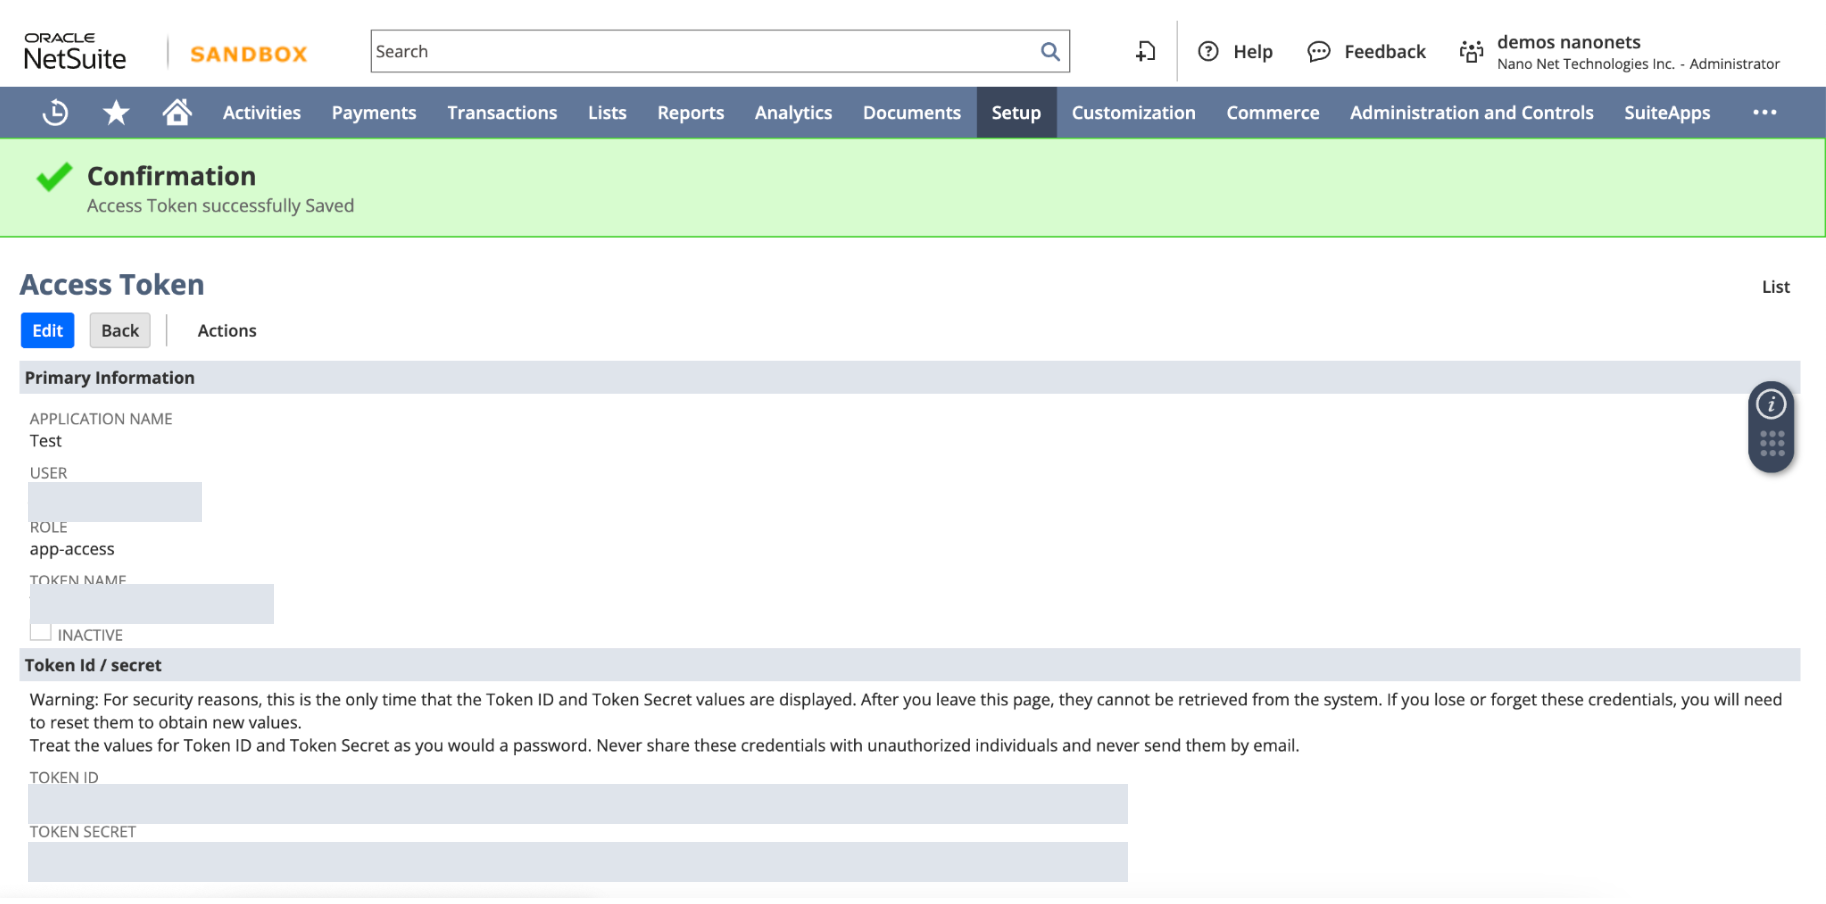
Set Up Token-Primarily based Authentication (TBA):
- Navigate to Setup > Customers/Roles > Entry Tokens > New.
- Choose the combination document you created, and generate the Token ID and Token Secret.
Along with your Account ID, Client Key, Client Secret, Token ID, and Token Secret, you are now able to make authenticated API calls to NetSuite.
Making a Vendor Invoice in NetSuite
NetSuite API means that you can create Vendor Payments programmatically, guaranteeing seamless integration between techniques. Under is a step-by-step information to making a Vendor Invoice utilizing NetSuite’s REST API in python.
Let’s dive into creating each item-based and expense-based vendor payments utilizing Python and NetSuite’s REST API.
Authentication
Earlier than making any API calls to NetSuite, you’ll want to authenticate utilizing OAuth 1.0. The next Python code makes use of the requests_oauthlib library to authenticate the request utilizing your consumer_key, consumer_secret, token_key, and token_secret.
Here is the way you authenticate utilizing OAuth 1.0:
import requests
from requests_oauthlib import OAuth1

# Authentication particulars
auth = OAuth1('consumer_key', 'consumer_secret', 'token_key', 'token_secret')
When you’re authenticated, you are able to construct your payloads.
Create Vendor Invoice Payload
1. Merchandise-Primarily based Vendor Invoice
When you’re billing for particular services or products, an item-based vendor invoice is right. Here is the payload construction for an item-based invoice:
# Merchandise-based Vendor Invoice payload
item_payload = {
    "entity": {"id": "1234"},  # Vendor ID
    "trandate": "2024-09-01",  # Transaction Date
    "duedate": "2024-09-15",  # Due Date
    "foreign money": {"id": "1"},  # Foreign money ID (USD)
    "phrases": {"id": "1"},  # Cost phrases
    "merchandise": [
        {
            "item": {"id": "5678"},  # Item ID
            "quantity": 10,  # Quantity of the item
            "rate": 20.00  # Unit price of the item
        }
    ],
    "memo": "Vendor Invoice for workplace provides"
}
2. Expense-Primarily based Vendor Invoice
For prices akin to hire, utilities, or consulting charges, an expense-based vendor invoice is extra acceptable. Here is the payload for an expense-based invoice:
# Expense-based Vendor Invoice payload
expense_payload = {
    "entity": {"id": "5678"},  # Vendor ID
    "trandate": "2024-09-01",  # Transaction Date
    "duedate": "2024-09-15",  # Due Date
    "foreign money": {"id": "1"},  # Foreign money ID (USD)
    "phrases": {"id": "1"},  # Cost phrases
    "expense": [
        {
            "account": {"id": "4000"},  # Expense account ID
            "amount": 500.00,  # Amount of the expense
            "memo": "Consulting services for August"  # Memo for the expense
        }
    ],
    "memo": "Vendor Invoice for consulting companies"
}
Ship POST Request
As soon as the payload is created, the following step is to ship a POST request to the NetSuite API utilizing the authenticated session. Under is the perform to deal with the request:
def create_vendor_bill(auth, payload):
    url = "https://<account_id>.suitetalk.api.netsuite.com/companies/relaxation/document/v1/vendorBill"

    headers = {"Content material-Sort": "utility/json"}

    # Ship POST request to create the seller invoice
    response = requests.put up(url, json=payload, headers=headers, auth=auth)

    return response

# Ship the seller invoice creation request
response = create_vendor_bill(auth, payload)URL: That is the NetSuite REST API endpoint for creating vendor payments. Change <account_id> together with your precise NetSuite account ID.
Response Dealing with
As soon as the POST request is made, the API returns a response. You need to examine the standing of the response and deal with it accordingly. If the invoice is created efficiently, the response will embody particulars such because the Vendor Invoice ID and standing.
# Response Dealing with
if response.status_code == 200:
    print("Vendor Invoice created efficiently:", response.json())
else:
    print("Error creating Vendor Invoice:", response.status_code, response.textual content)
Instance of a Profitable Response
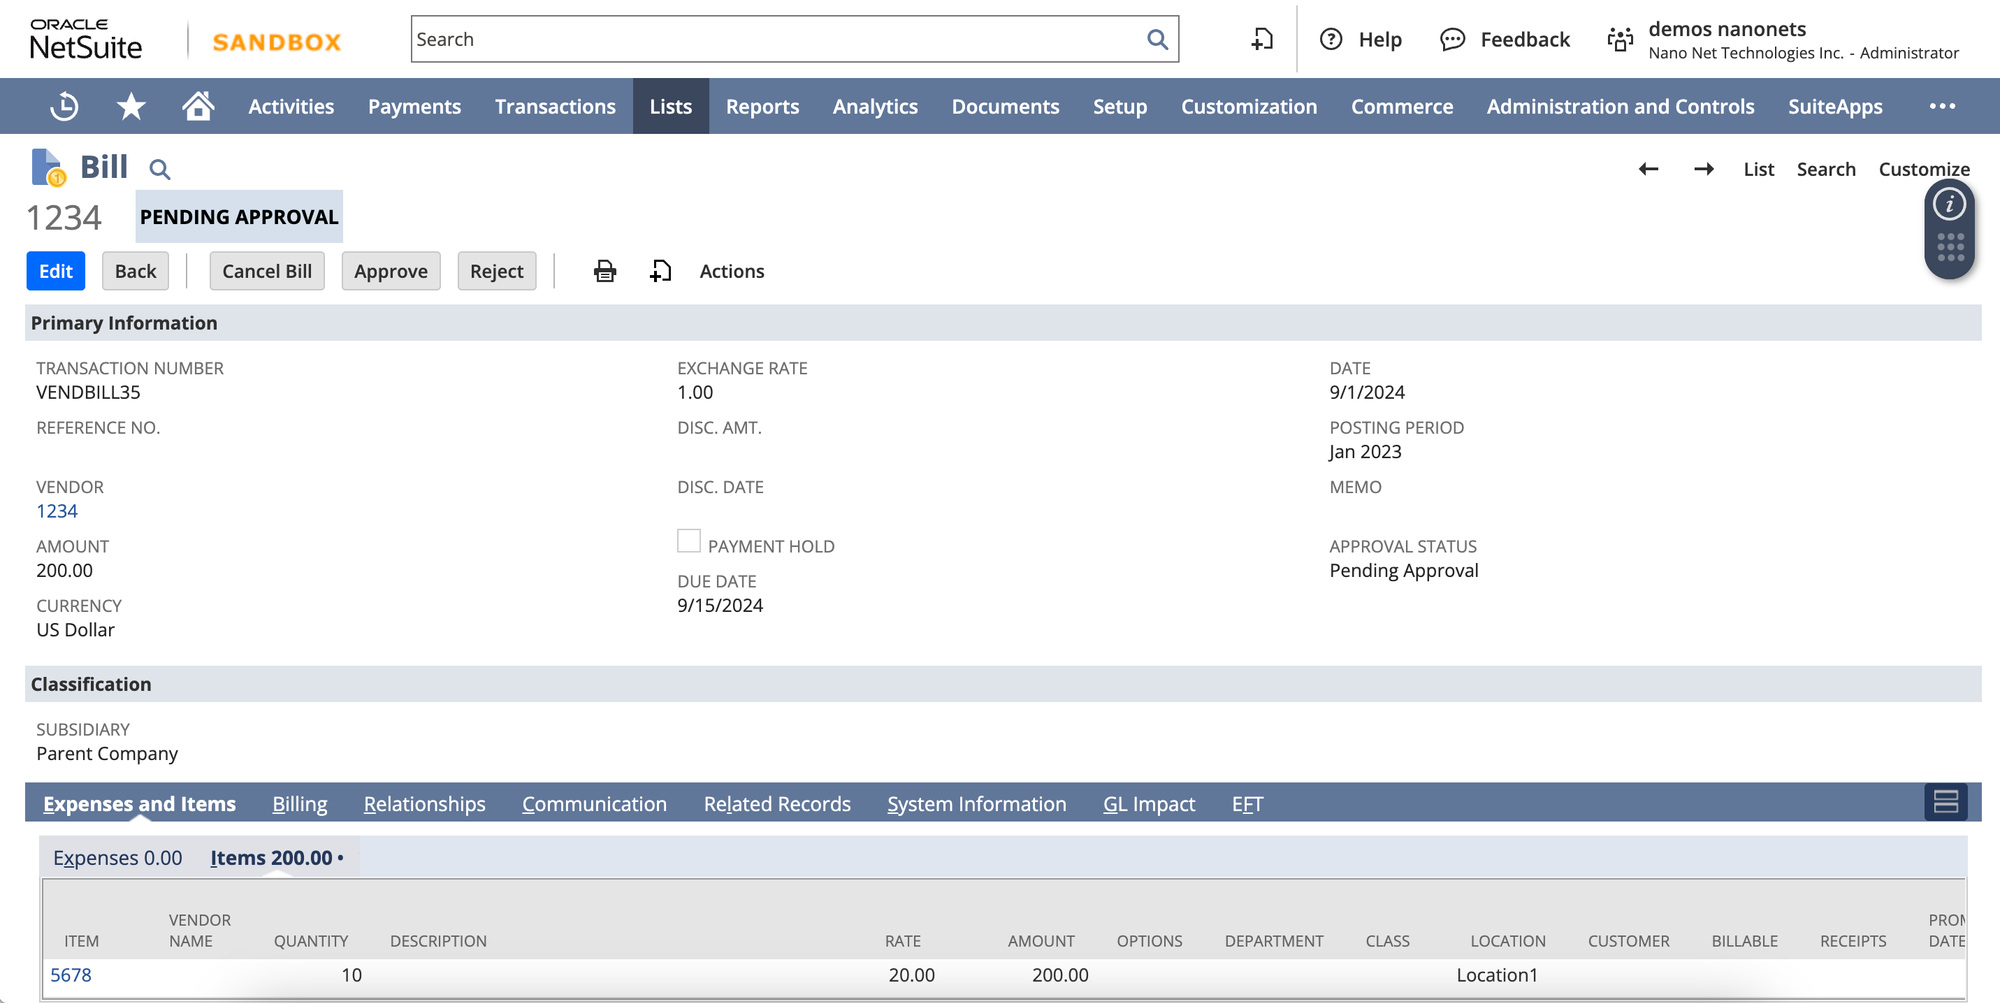
If the Vendor Invoice is efficiently created, the response could appear like this:

As soon as the invoice is created efficiently it should present up in NetSuite dashboard just like the under instance.
Obtain Full Code:
The core code for posting a vendor invoice utilizing NetSuite stays constant. Nonetheless, the payload varies relying on the kind of vendor invoice being added. Let’s discover find out how to ship a POST request so as to add numerous varieties of vendor payments utilizing the NetSuite API.
How you can Retrieve Inside IDs in NetSuite
To populate the required fields within the payloads (akin to itemID, currencyID, termsID, and accountID), you may want to make use of NetSuite’s Inside IDs. These IDs correspond to particular entities, gadgets, or phrases inside your NetSuite account.
You’ll find these inner IDs by way of the next steps:
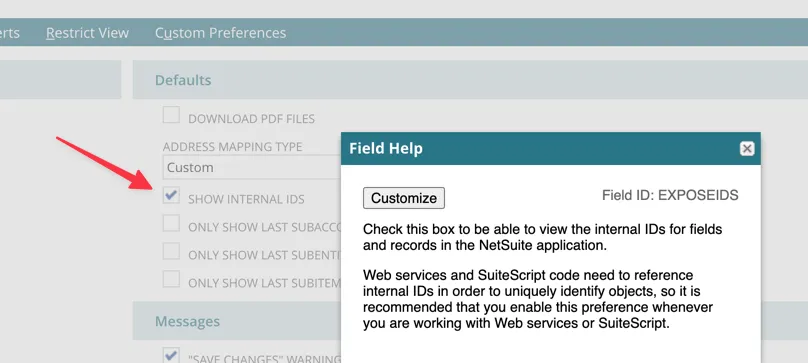
- NetSuite UI: Navigate to the related document (e.g., Vendor, Merchandise, or Account) within the NetSuite dashboard and allow “Inside IDs” underneath
Residence -> Set Preferences -> Basic -> Defaults -> Present Inside IDs.
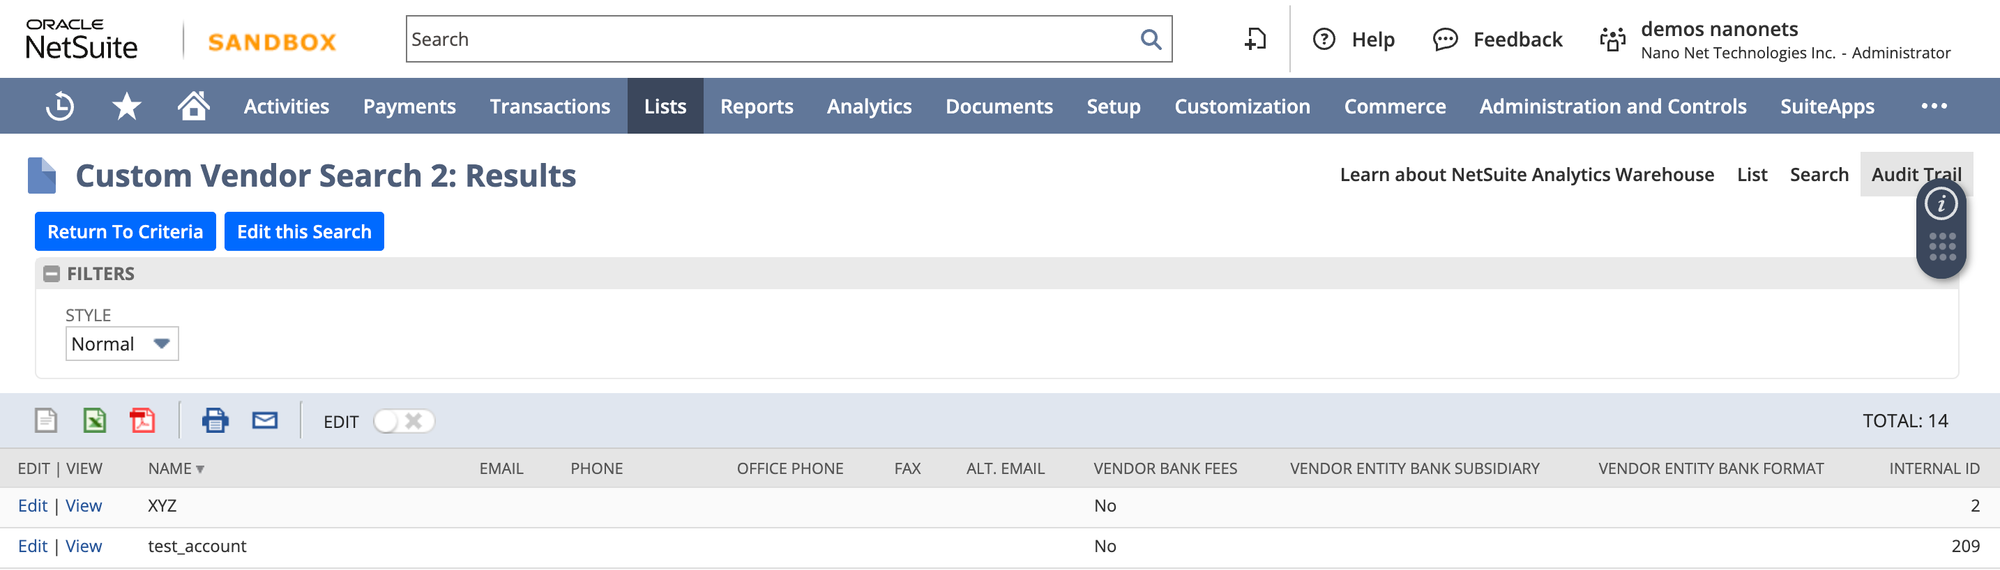
- Saved Searches: Navigate to Reviews -> Saved Searches -> All Saved Searches within the NetSuite dashboard. Create a brand new search and choose the related document sort (e.g., Gadgets, Distributors). Within the Outcomes tab, add the Inside ID area as a column. Operating the search will show the interior IDs of the chosen information in your outcomes.
- SuiteScript: You may write and deploy a SuiteScript that retrieves inner IDs from information. After deploying the script, you possibly can run it to entry inner IDs to be used in your API calls. Under an instance of a easy SuiteScript to retrieve inner IDs of distributors:
/**
 * @NApiVersion 2.x
 * @NScriptType Suitelet
 */
outline(['N/search'], perform(search) {
    perform onRequest(context) {
        var vendorSearch = search.create({
            sort: search.Sort.VENDOR,
            columns: ['internalid', 'entityid']  // inner ID and Vendor identify
        });

        var searchResult = vendorSearch.run();
        var distributors = [];

        searchResult.every(perform(end result) {
            distributors.push({
                internalId: end result.getValue({ identify: 'internalid' }),
                vendorName: end result.getValue({ identify: 'entityid' })
            });
            return true;  // proceed iteration
        });

        // Ship again response as JSON
        context.response.write(JSON.stringify(distributors));
    }

    return {
        onRequest: onRequest
    };
});
With these inner IDs, you possibly can guarantee your API calls goal the right information, enhancing accuracy and effectivity in your vendor invoice creation course of.
Vendor Invoice Payloads for Completely different Situations in NetSuite
When creating vendor payments in NetSuite, the kind of expense you are dealing with can differ, from a number of line gadgets to recurring payments or making use of reductions or credit. Under are JSON payload examples for these totally different eventualities.
Vendor Payments with A number of Line Gadgets
Vendor payments with a number of line means that you can specify a number of gadgets, every with its personal amount and price, and ensures that every merchandise is recorded precisely.
Merchandise-Primarily based Vendor Invoice Payload:
# Merchandise-based Vendor Invoice with a number of line gadgets
item_payload = {
  "entity": {"id": "vendor_id"},
  "trandate": "2024-09-01",  # Transaction Date
  "account": {"id": "account_id"},  # Account ID
  "gadgets": [
    {
      "item": {"id": "item_id_1"},  # Item 1 ID
      "quantity": 5,
      "rate": 50.00  # Unit price for Item 1
    },
    {
      "item": {"id": "item_id_2"},  # Item 2 ID
      "quantity": 3,
      "rate": 150.00  # Unit price for Item 2
    }
  ]
}
Expense-Primarily based Vendor Invoice Payload:
# Expense-based Vendor Invoice with a number of line gadgets
expense_payload = {
  "entity": {"id": "vendor_id"},
  "trandate": "2024-09-01",  # Transaction Date
  "account": {"id": "expense_account_id"},  # Expense account ID
  "expense": [
    {
      "account": {"id": "expense_account_1"},  # Expense account 1
      "amount": 250.00,  # Amount for first expense
      "memo": "Consulting services"
    },
    {
      "account": {"id": "expense_account_2"},  # Expense account 2
      "amount": 450.00,  # Amount for second expense
      "memo": "Legal services"
    }
  ]
}
This payload construction means that you can add a number of line gadgets or bills in a single vendor invoice.
Recurring Vendor Payments
Recurring vendor payments are perfect for dealing with common, predictable bills akin to subscriptions or month-to-month companies. The recurrence possibility ensures the invoice generates mechanically till a specified finish date.
Merchandise-Primarily based Recurring Vendor Invoice Payload:
# Merchandise-based Recurring Vendor Invoice payload
item_payload = {
  "entity": {"id": "vendor_id"},
  "tranDate": "2024-09-01",  # Begin Date
  "account": {"id": "account_id"},  # Account ID
  "merchandise": [
    {
      "item": {"id": "recurring_item_id"},  # Item ID
      "quantity": 1,
      "rate": 500.00  # Rate for the item
    }
  ],
  "recurrence": {
    "frequency": "month-to-month",  # Recurring frequency
    "endDate": "2024-12-01"  # Finish date of recurrence
  }
}
Expense-Primarily based Recurring Vendor Invoice Payload:
# Expense-based Recurring Vendor Invoice payload
expense_payload = {
  "entity": {"id": "vendor_id"},
  "tranDate": "2024-09-01",  # Begin Date
  "account": {"id": "expense_account_id"},  # Expense account ID
  "expense": [
    {
      "account": {"id": "recurring_expense_account_id"},  # Recurring expense account
      "amount": 600.00,  # Amount for the recurring expense
      "memo": "Monthly software subscription"
    }
  ],
  "recurrence": {
    "frequency": "month-to-month",  # Recurring frequency
    "endDate": "2024-12-01"  # Finish date of recurrence
  }
}
This ensures that vendor payments are generated every month till the tip date, lowering the necessity for guide entries.
Making use of Reductions or Credit to Vendor Payments
In instances the place a vendor affords a reduction or credit score, you possibly can simply mirror this in your vendor invoice. Under are the payloads for each item-based and expense-based vendor payments with utilized reductions.
Merchandise-Primarily based Vendor Invoice with Low cost Payload:
# Merchandise-based Vendor Invoice with low cost
item_payload = {
  "entity": {"id": "vendor_id"},
  "tranDate": "2024-09-01",  # Transaction Date
  "account": {"id": "account_id"},  # Account ID
  "merchandise": [
    {
      "item": {"id": "item_id"},  # Item ID
      "quantity": 1,
      "rate": 100.00,  # Original rate
      "discount": 10.00  # Discount applied
    }
  ]
}
Expense-Primarily based Vendor Invoice with Low cost Payload:
# Expense-based Vendor Invoice with low cost
expense_payload = {
  "entity": {"id": "vendor_id"},
  "tranDate": "2024-09-01",  # Transaction Date
  "account": {"id": "expense_account_id"},  # Expense account ID
  "expense": [
    {
      "account": {"id": "expense_account_id"},  # Expense account ID
      "amount": 100.00,  # Original amount
      "memo": "Discount applied on services",
      "discount": 15.00  # Discount applied
    }
  ]
}
This setup helps you to apply vendor-specific reductions to each item-based and expense-based payments.
Making a Vendor Invoice that Matches a Buy Order
Matching a vendor invoice to a purchase order order ensures that your invoice aligns with the phrases of your PO. There are two major strategies to realize this:
Match the Invoice Line to the PO Line
This methodology is right once you wish to partially invoice the PO, matching particular line gadgets on the seller invoice to corresponding strains within the buy order. That is significantly helpful for advanced orders with a number of gadgets, the place some gadgets could have been obtained or invoiced earlier than others. If you use line-level matching, solely the billed strains are up to date, and the PO stays partially open for future billing.
payload = {
  "entity": {"id": "vendor_id"},
  "tranDate": "2024-09-01",
  "purchaseOrder": {"id": "purchase_order_id"},
  "merchandise": [
    {
      "purchaseOrderLine": {"id": "po_line_id"},
      "quantity": 10,
      "rate": 50.00
    }
  ]
}
🗒️
Matching Invoice line to PO line permits flexibility for future changes or further billing in opposition to the remaining PO strains.
Rework the PO right into a Vendor Invoice
If the acquisition order has been absolutely fulfilled and also you’re able to invoice for all gadgets, reworking your entire PO right into a vendor invoice is a faster resolution. Nonetheless, this methodology absolutely closes the PO, marking it as absolutely billed. It can’t be edited later, so be certain that all gadgets have been obtained and accounted for earlier than continuing with this method.
payload = {
  "entity": {"id": "vendor_id"},
  "tranDate": "2024-09-01",
  "purchaseOrder": {"id": "purchase_order_id"}
}
🗒️
When reworking a PO right into a vendor invoice, the PO is locked and marked as absolutely billed. Use this methodology fastidiously to keep away from prematurely closing a PO which will require further changes.
Frequent Pitfalls and Troubleshooting
Creating vendor payments by way of the NetSuite API is a strong solution to automate your monetary processes, nevertheless it comes with its challenges. Listed below are some widespread pitfalls and find out how to keep away from them:
| Pitfall | Answer |
|---|---|
| Authentication Points | Double-check your tokens, keys, and permissions. Make sure that Token-Primarily based Authentication (TBA) is appropriately arrange. |
| Lacking or Incorrect Fields | At all times check with the NetSuite API documentation to make sure all required fields are included and appropriately formatted. |
| Knowledge Synchronization Points | Implement common GET queries to confirm that the information in your system matches what’s in NetSuite. Think about using middleware or an integration platform to take care of synchronization. |
| Charge Limits | Monitor your API utilization and implement methods like request batching or throttling to remain inside limits. |
| Dealing with Partial Exports | Implement error dealing with and logging to establish and tackle partial exports promptly. |
Create Vendor Invoice on Netsuite utilizing Nanonets
Nanonets simplifies the method by dealing with the complexities of API authentication, scope administration, and error dealing with, making it an supreme end-to-end NetSuite automation workflow supplier. By leveraging the AI-powered Nanonets platform, you possibly can automate your entire vendor invoice creation course of in NetSuite with minimal human intervention. This ensures quicker processing occasions, improved accuracy, and seamless integration together with your current workflows.
Nanonets intelligently extracts key information from vendor invoices, maps it instantly into NetSuite, and generates correct vendor payments. Whether or not you are coping with advanced line gadgets, recurring payments, or expense-based entries, Nanonets handles all of it with ease.
Right here’s a demo video exhibiting how one can arrange automated Vendor Invoice creation utilizing Nanonets in underneath 3 minutes.
Nanonet’s Netsuite setup Demo
Benefits of Utilizing Nanonets:
- Native NetSuite Connection: Handles all of the intricate particulars like API authentication and lacking fields.
- Out-of-the-Field Workflows: Simplifies duties like vendor invoice creation and PO matching.
- Correct Knowledge Extraction: Leverages Gen AI fashions to extract information from invoices and different paperwork.
- Consumer and Knowledge Administration: Offers options like doc storage and administration and group collaboration.
- Approval Workflows: Permits for information verification inside your group earlier than posting to NetSuite.
By automating the seller invoice creation course of with Nanonets, you possibly can guarantee effectivity, accuracy, and scalability in your accounts payable workflow, leaving the tedious duties to AI.
For extra info, try the Nanonets documentation.
Nanonets automates vendor invoice and PO entry into NetSuite, plus units up seamless 2-way, 3-way, and 4-way matching in minutes!
Conclusion
Creating vendor payments in NetSuite utilizing the API streamlines your accounts payable course of, from dealing with a number of line gadgets and recurring payments to making use of reductions. By customizing payloads, companies can automate vendor invoice creation, lowering guide effort and errors.
However why cease at simply guide API calls? Nanonets takes automation a step additional. By harnessing AI, Nanonets automates the extraction and enter of vital bill information instantly into NetSuite, saving you time and eliminating the chance of human error. Whether or not you’ll want to create a easy item-based vendor invoice or handle recurring bills, Nanonets ensures the method is easy, correct, and scalable.